Passivhaus Details
Walls and Joists
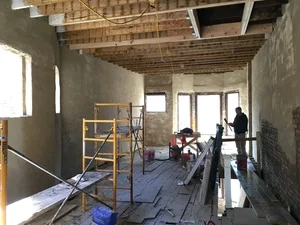
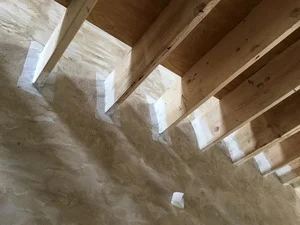
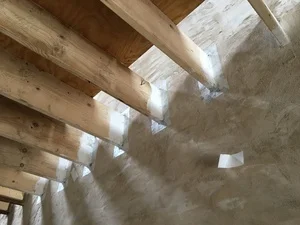
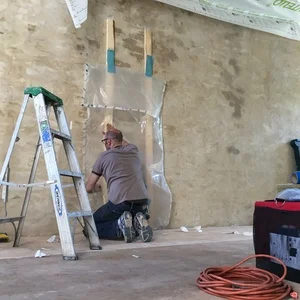
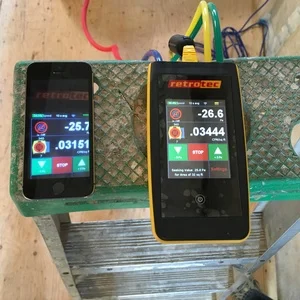
We tested the mortar composition of the original structure which proved to be uniformly lime mortar. We then used this same lime mortar to plaster all interior wall surfaces of the original structure to create an air tight, water tight and vapor permeable surface while fortifying the original brick structure. For a little fun and to get a baseline, we tested the air-tightness of the wall which averaged ~ .32 ACH at 25 Pascals. Subsequently, all joist pockets were taped and caulked with Pro Clima Contega Solido SL tape using a methodology provided by 475 High Performance Building Supply.
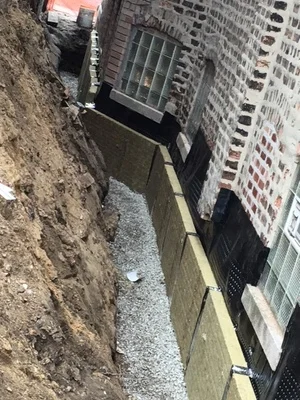
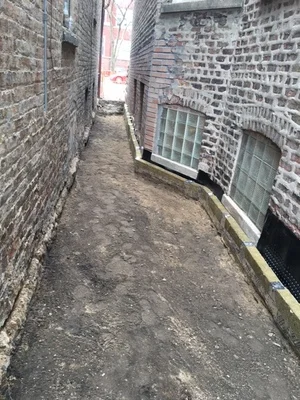
Below grade, the exterior foundation walls were cleaned, tuckpointed and waterproofed and then, an additional dimple membrane and insulation layer reaching below the footings was installed.
These techniques eliminate thermal bridges and the probability of air and water penetration.


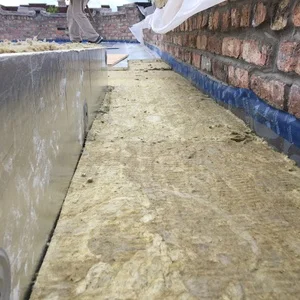
Foundation
We hand excavated to the bottom of the new reinforced concrete footing, re-pointed the rubble foundation above, waterproofed both with UGL Drylock, added a dimple membrane from grade to below the new footing, insulated from above grade to the bottom of the new footing with Roxul mineral wool boards and back filled with gravel and sand. The exterior insulation will overlap with the interior sub-slab and wall insulation avoiding thermal bridges.


Windows
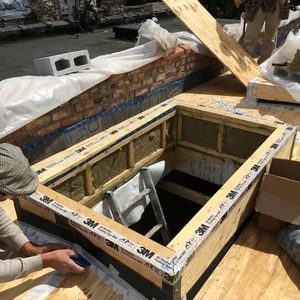
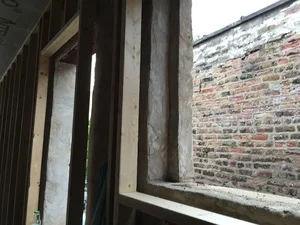
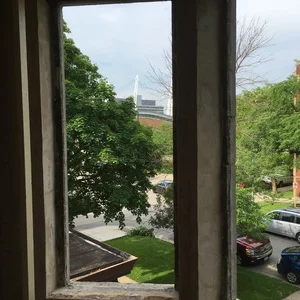
We discovered several bricked up windows which we re-opened. In the balance, windows provide free winter time solar energy. We also found a large original skylight opening buried among the layers which we rebuilt. We repaired and parged the rough openings with lime plaster creating a continuous seam with the interior parged walls, the first step in creating a continuous air tight barrier. Subsequently, layers of insulation and tape will be applied creating a continuous, insulated air tight and water tight barrier.


Continuous Air Tight, Water Tight and Vapor Permeable Surfaces
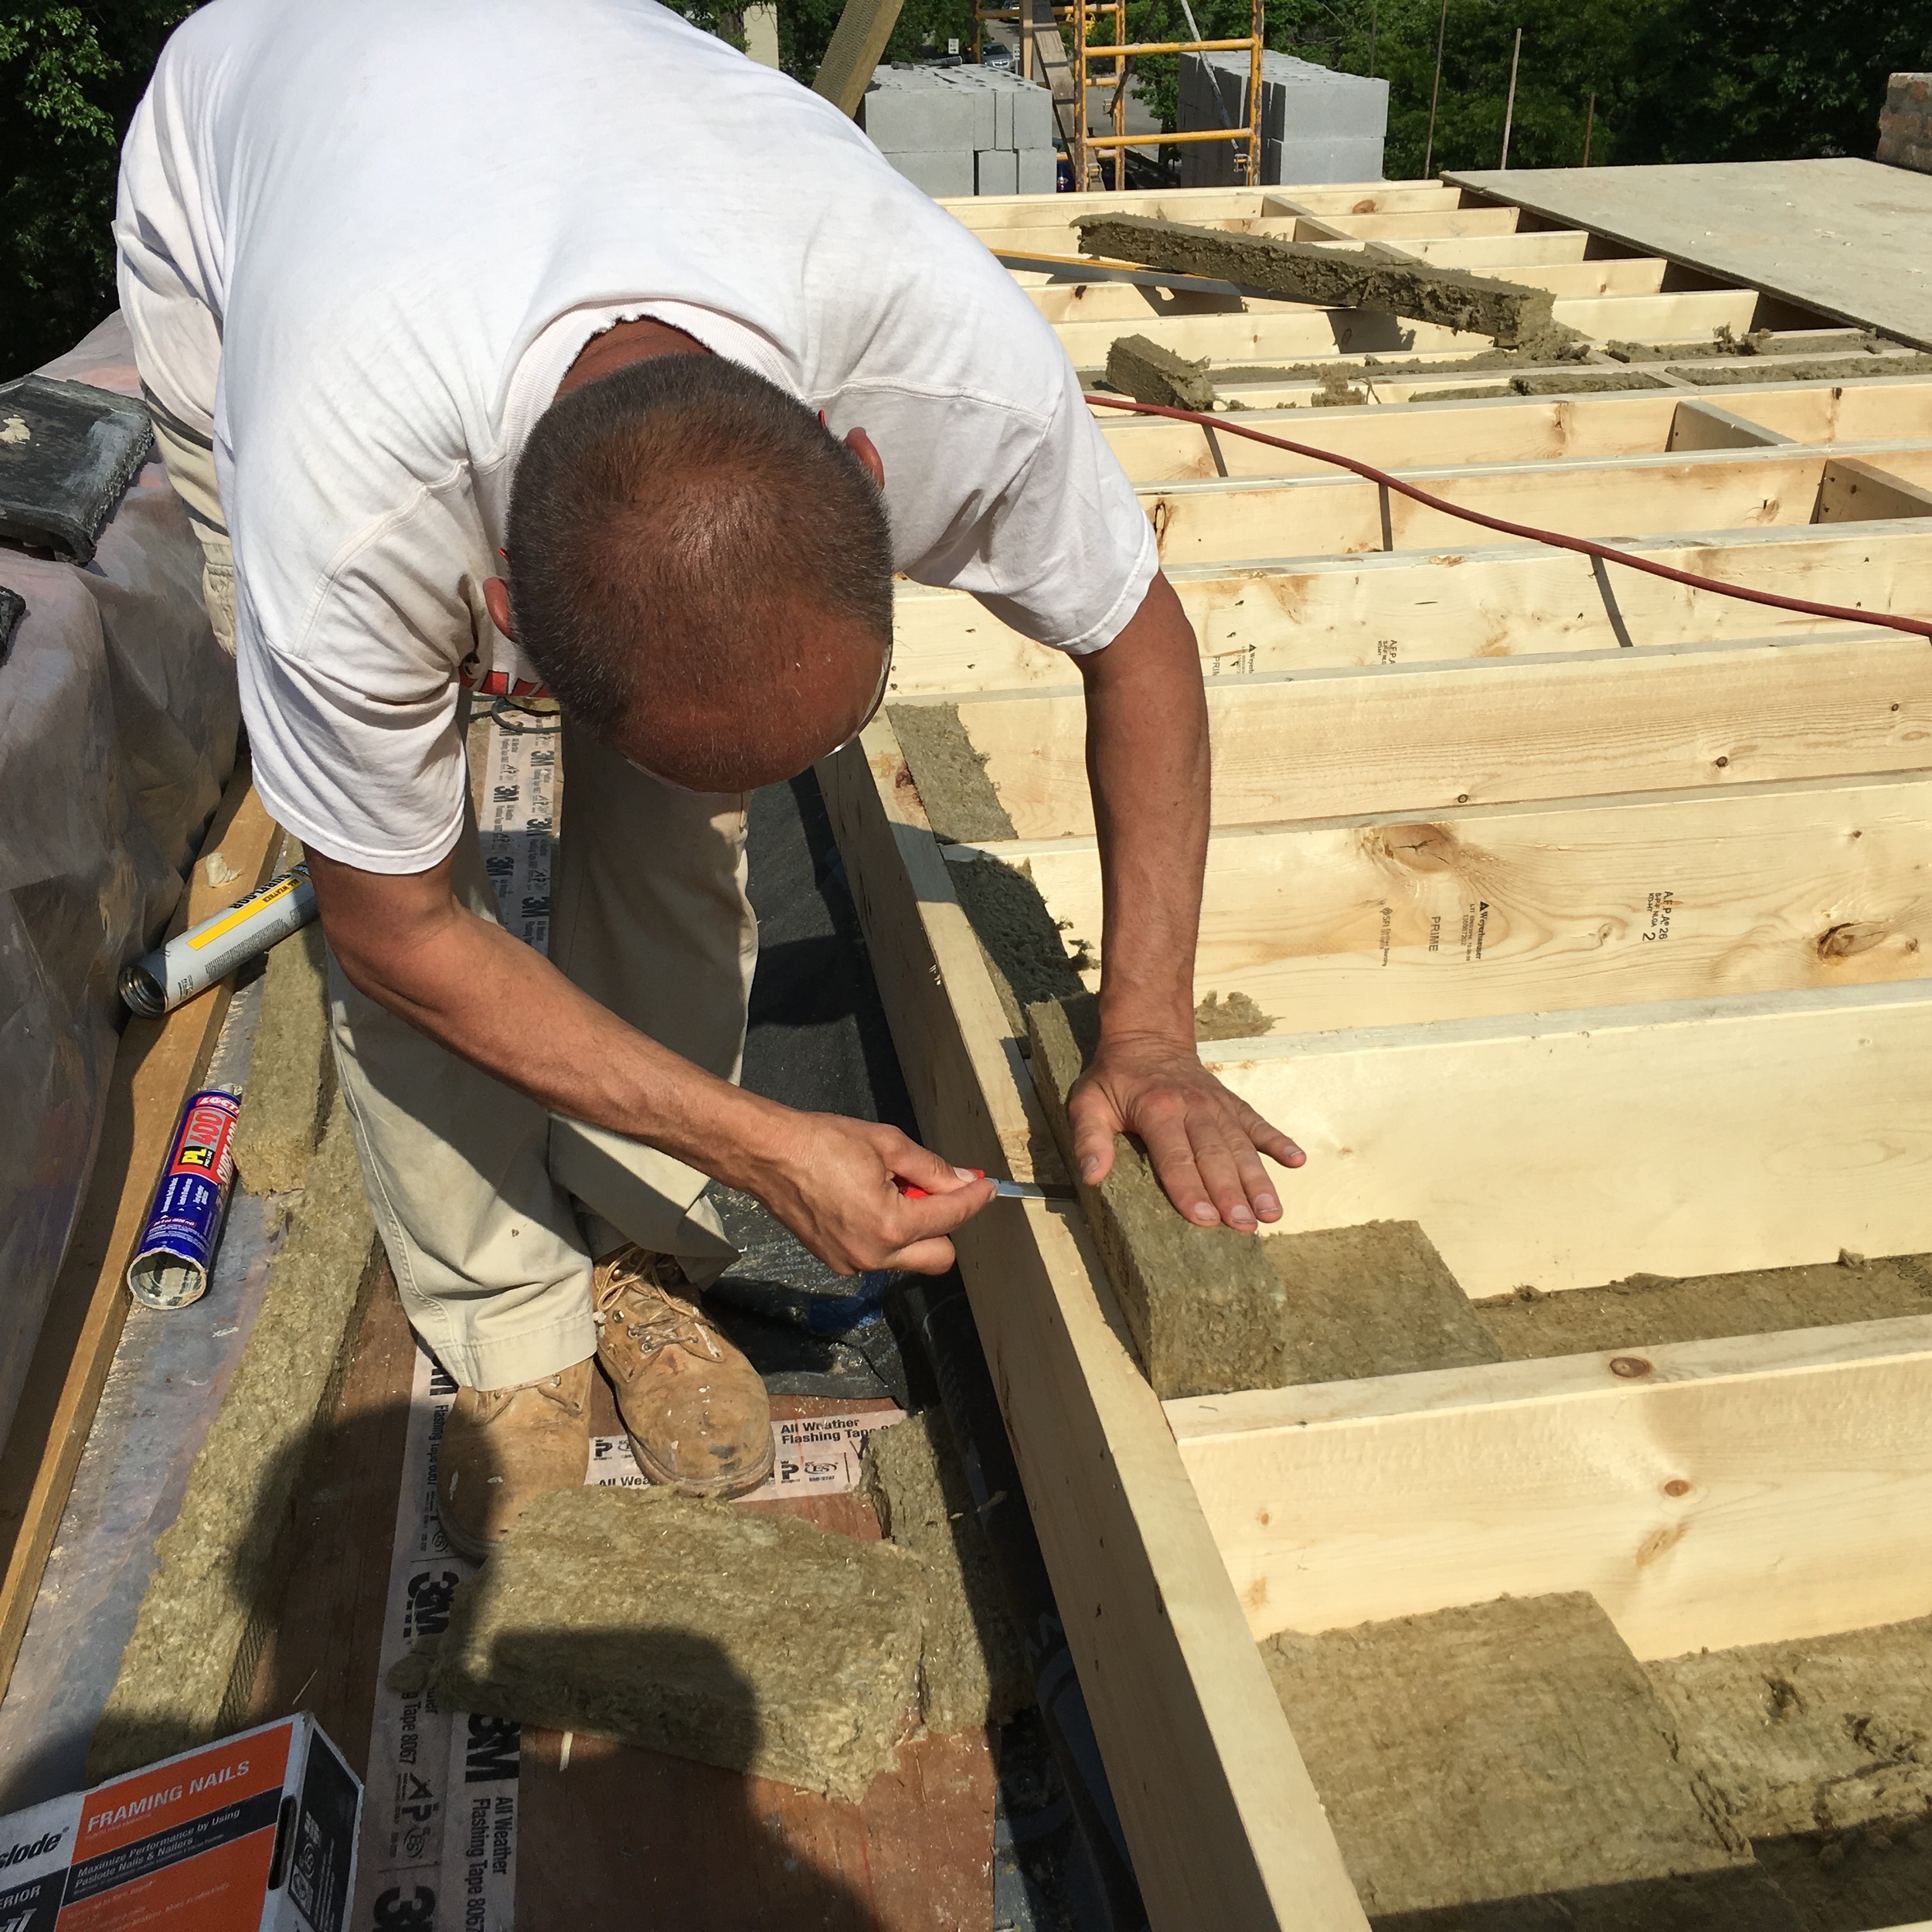
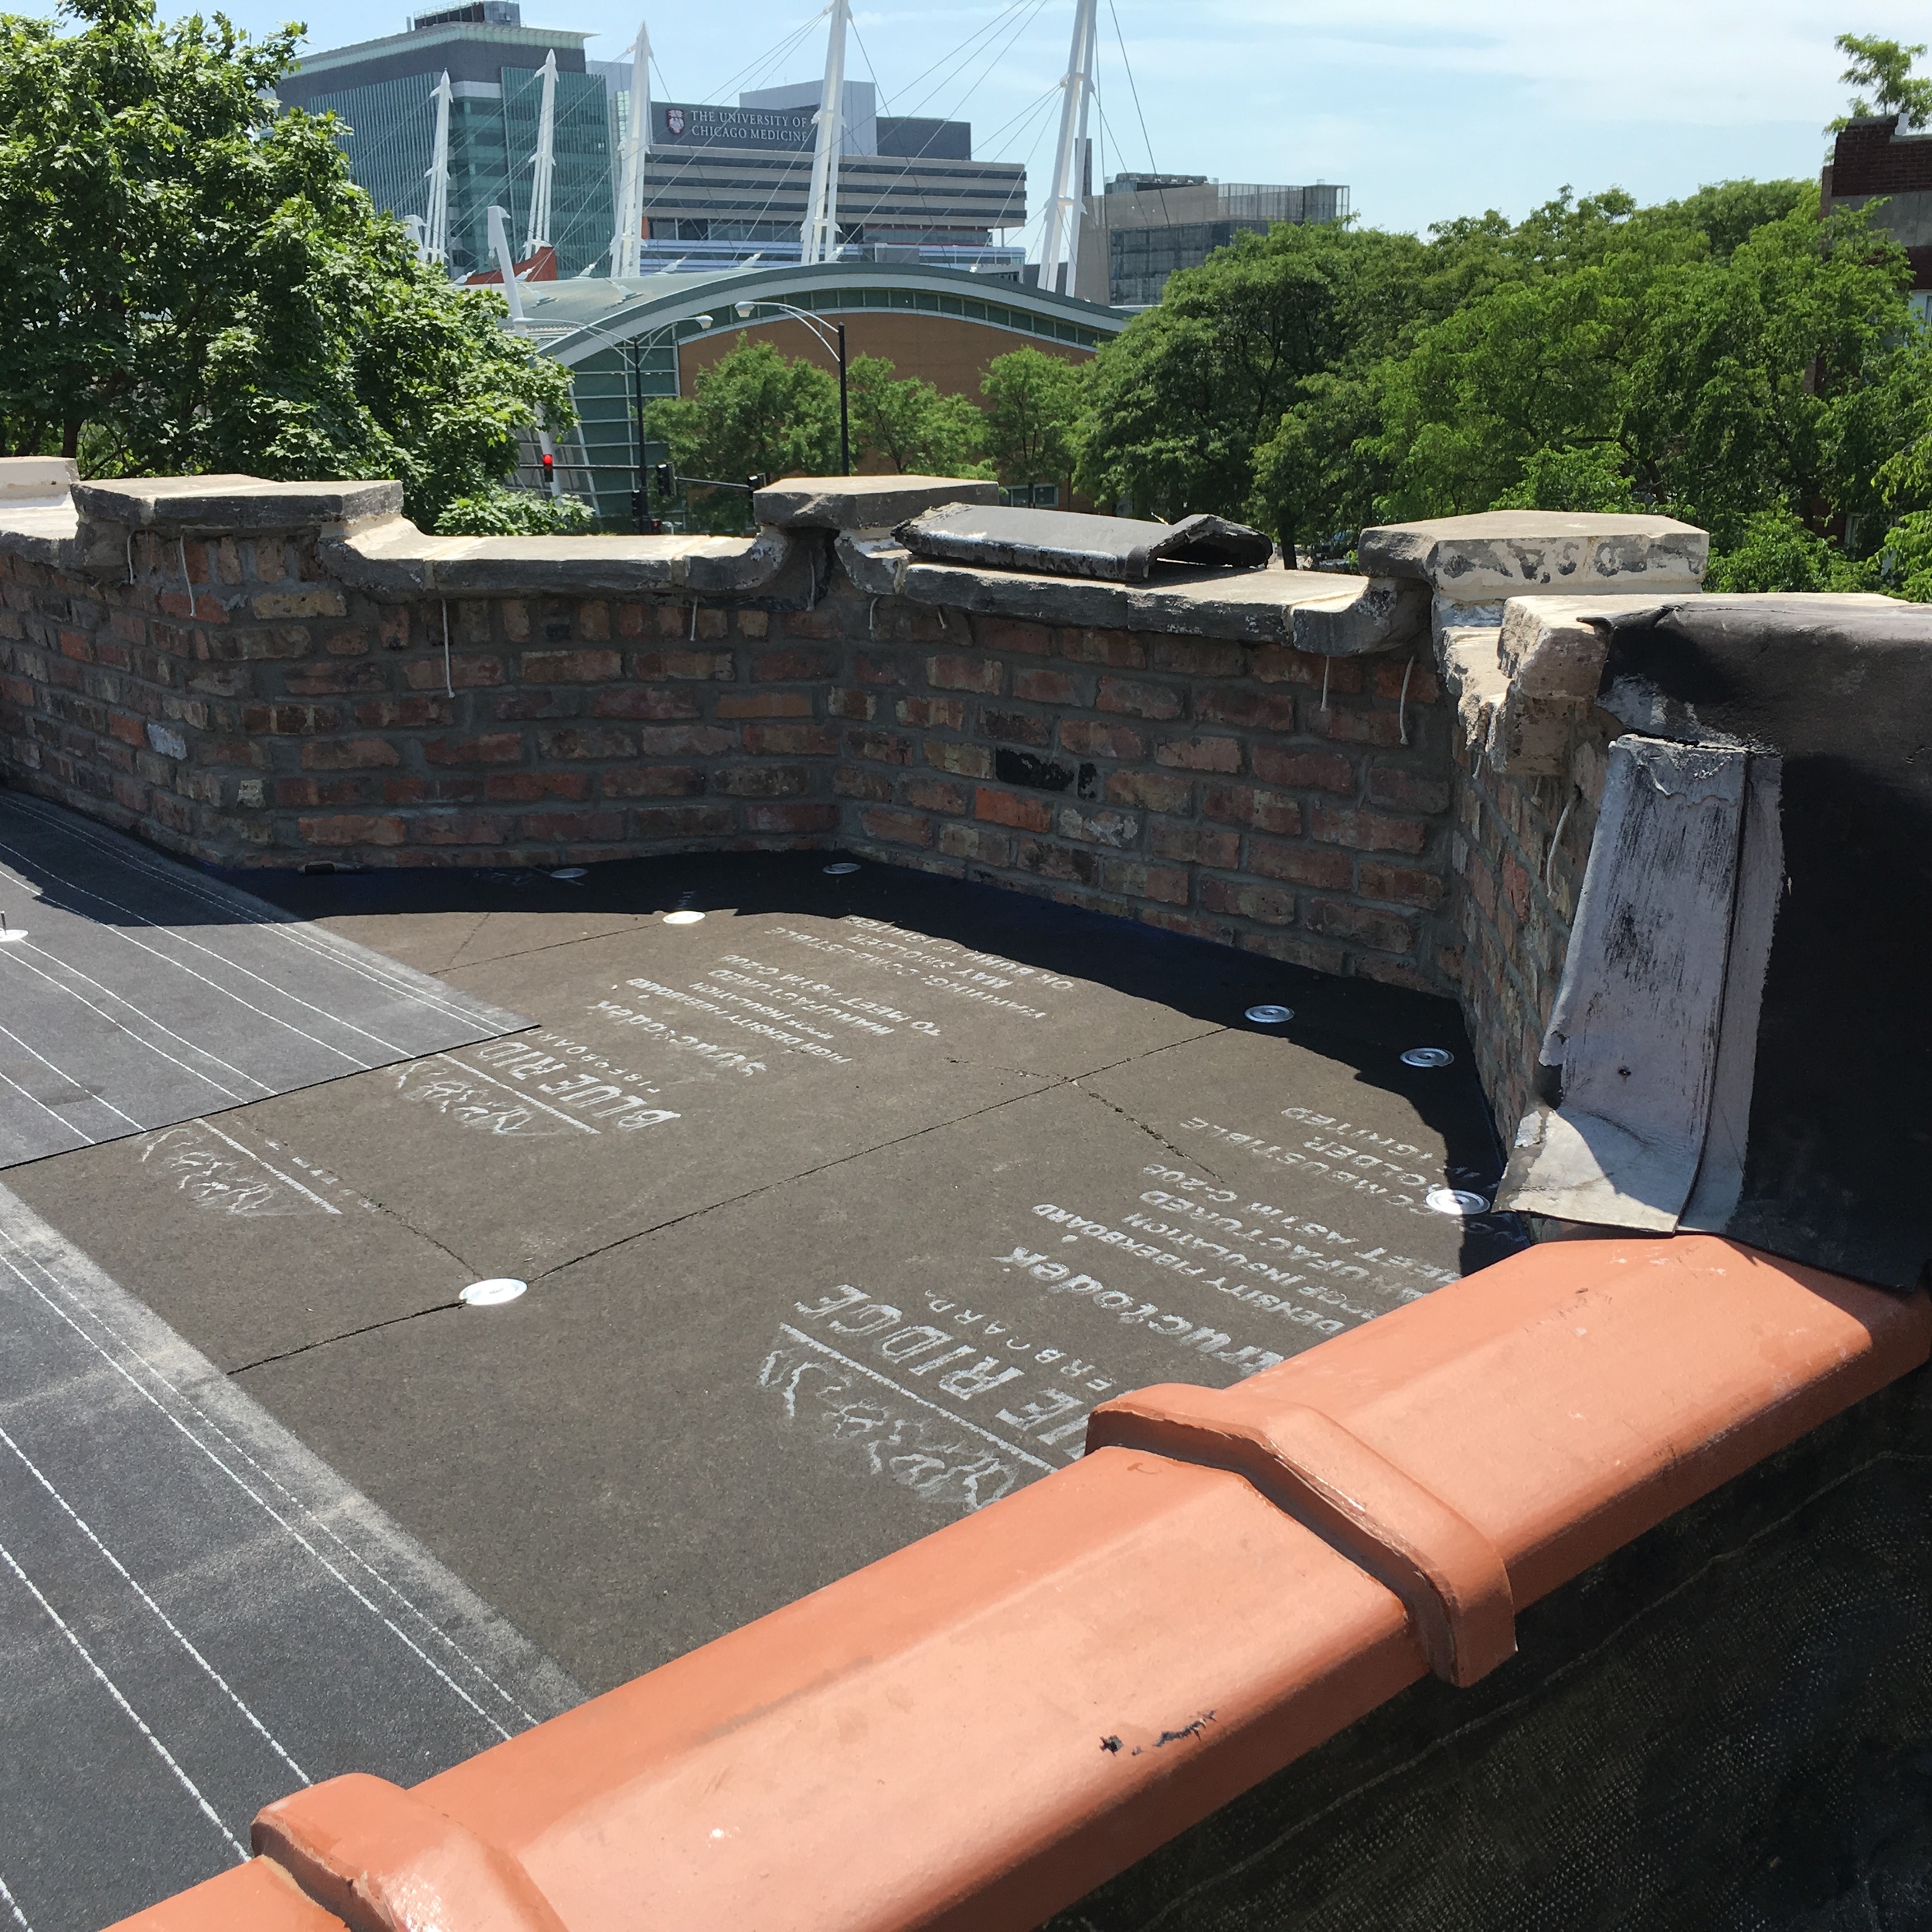
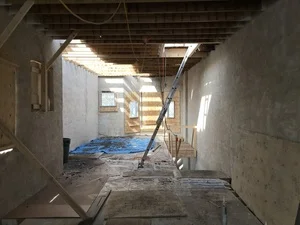
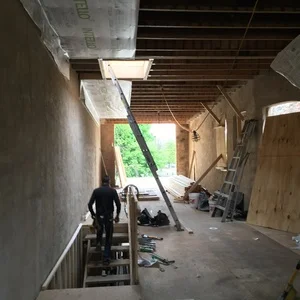
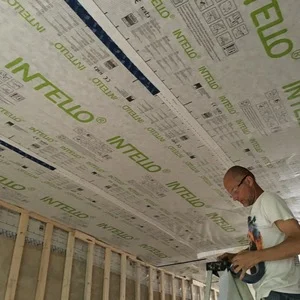
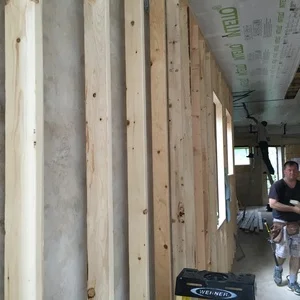
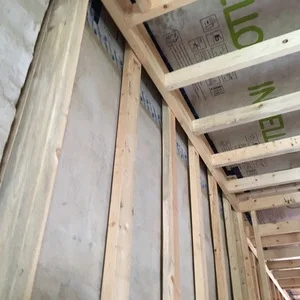
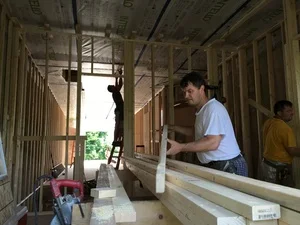
With the roof joists fortified and replaced and rough window openings and walls parged, we placed a Pro Clima Intello vapor open membrane against the bottom of the roof joists as proscribed by 475 High Performance Building Supply's method. Dense pack cellulose will be packed between each joist and below the new roof deck in due course. We taped the seams with Pro Clima Tescon Vana tape and adhered the "floppy bit" (tail) of the Intello membrane to the parged walls with a continuous bead of Pro Clima Contega HF caulk and additional Contega Solido SL tape. Non-structural perimeter framing members were placed standing off from the parged walls in accordance with our PHPP derived insulation model. In due course a membrane will be applied to the exterior wall framing and dense packed cellulose placed directly against the parged walls. We placed a ceiling service cavity for conduit and lighting to avoid penetration of the air tight roof/ceiling layer.


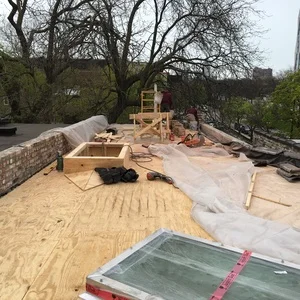
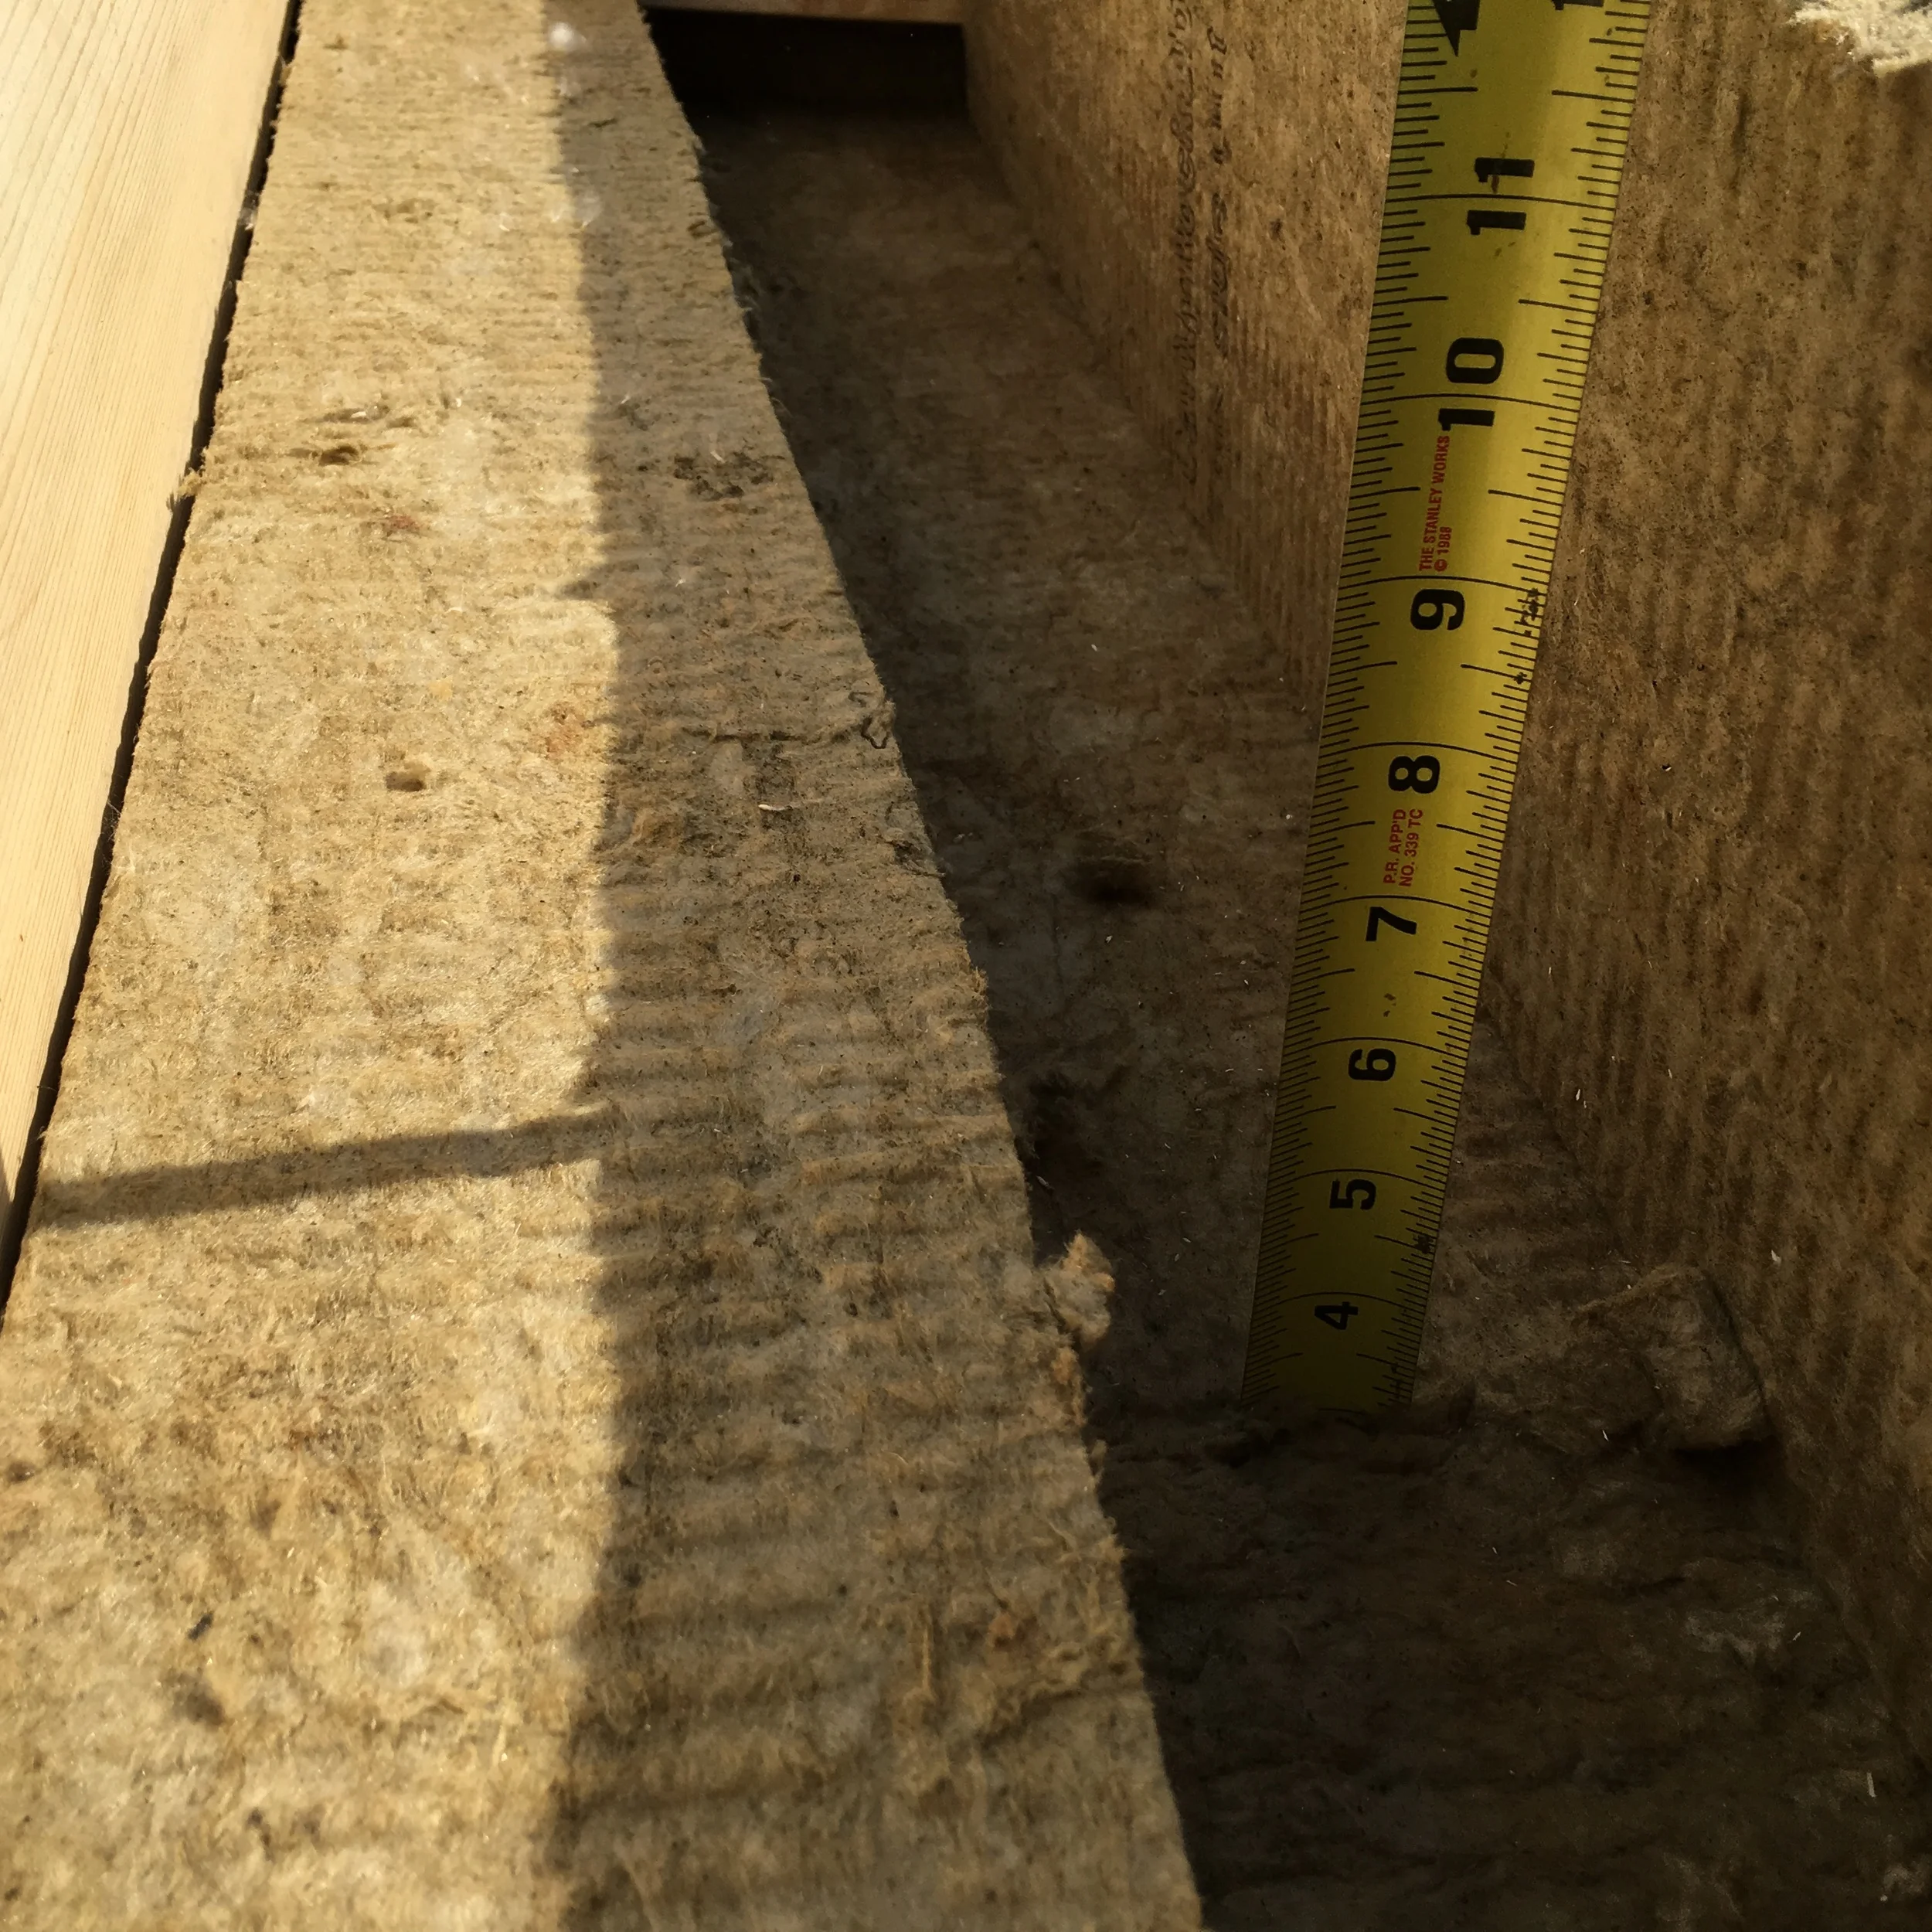
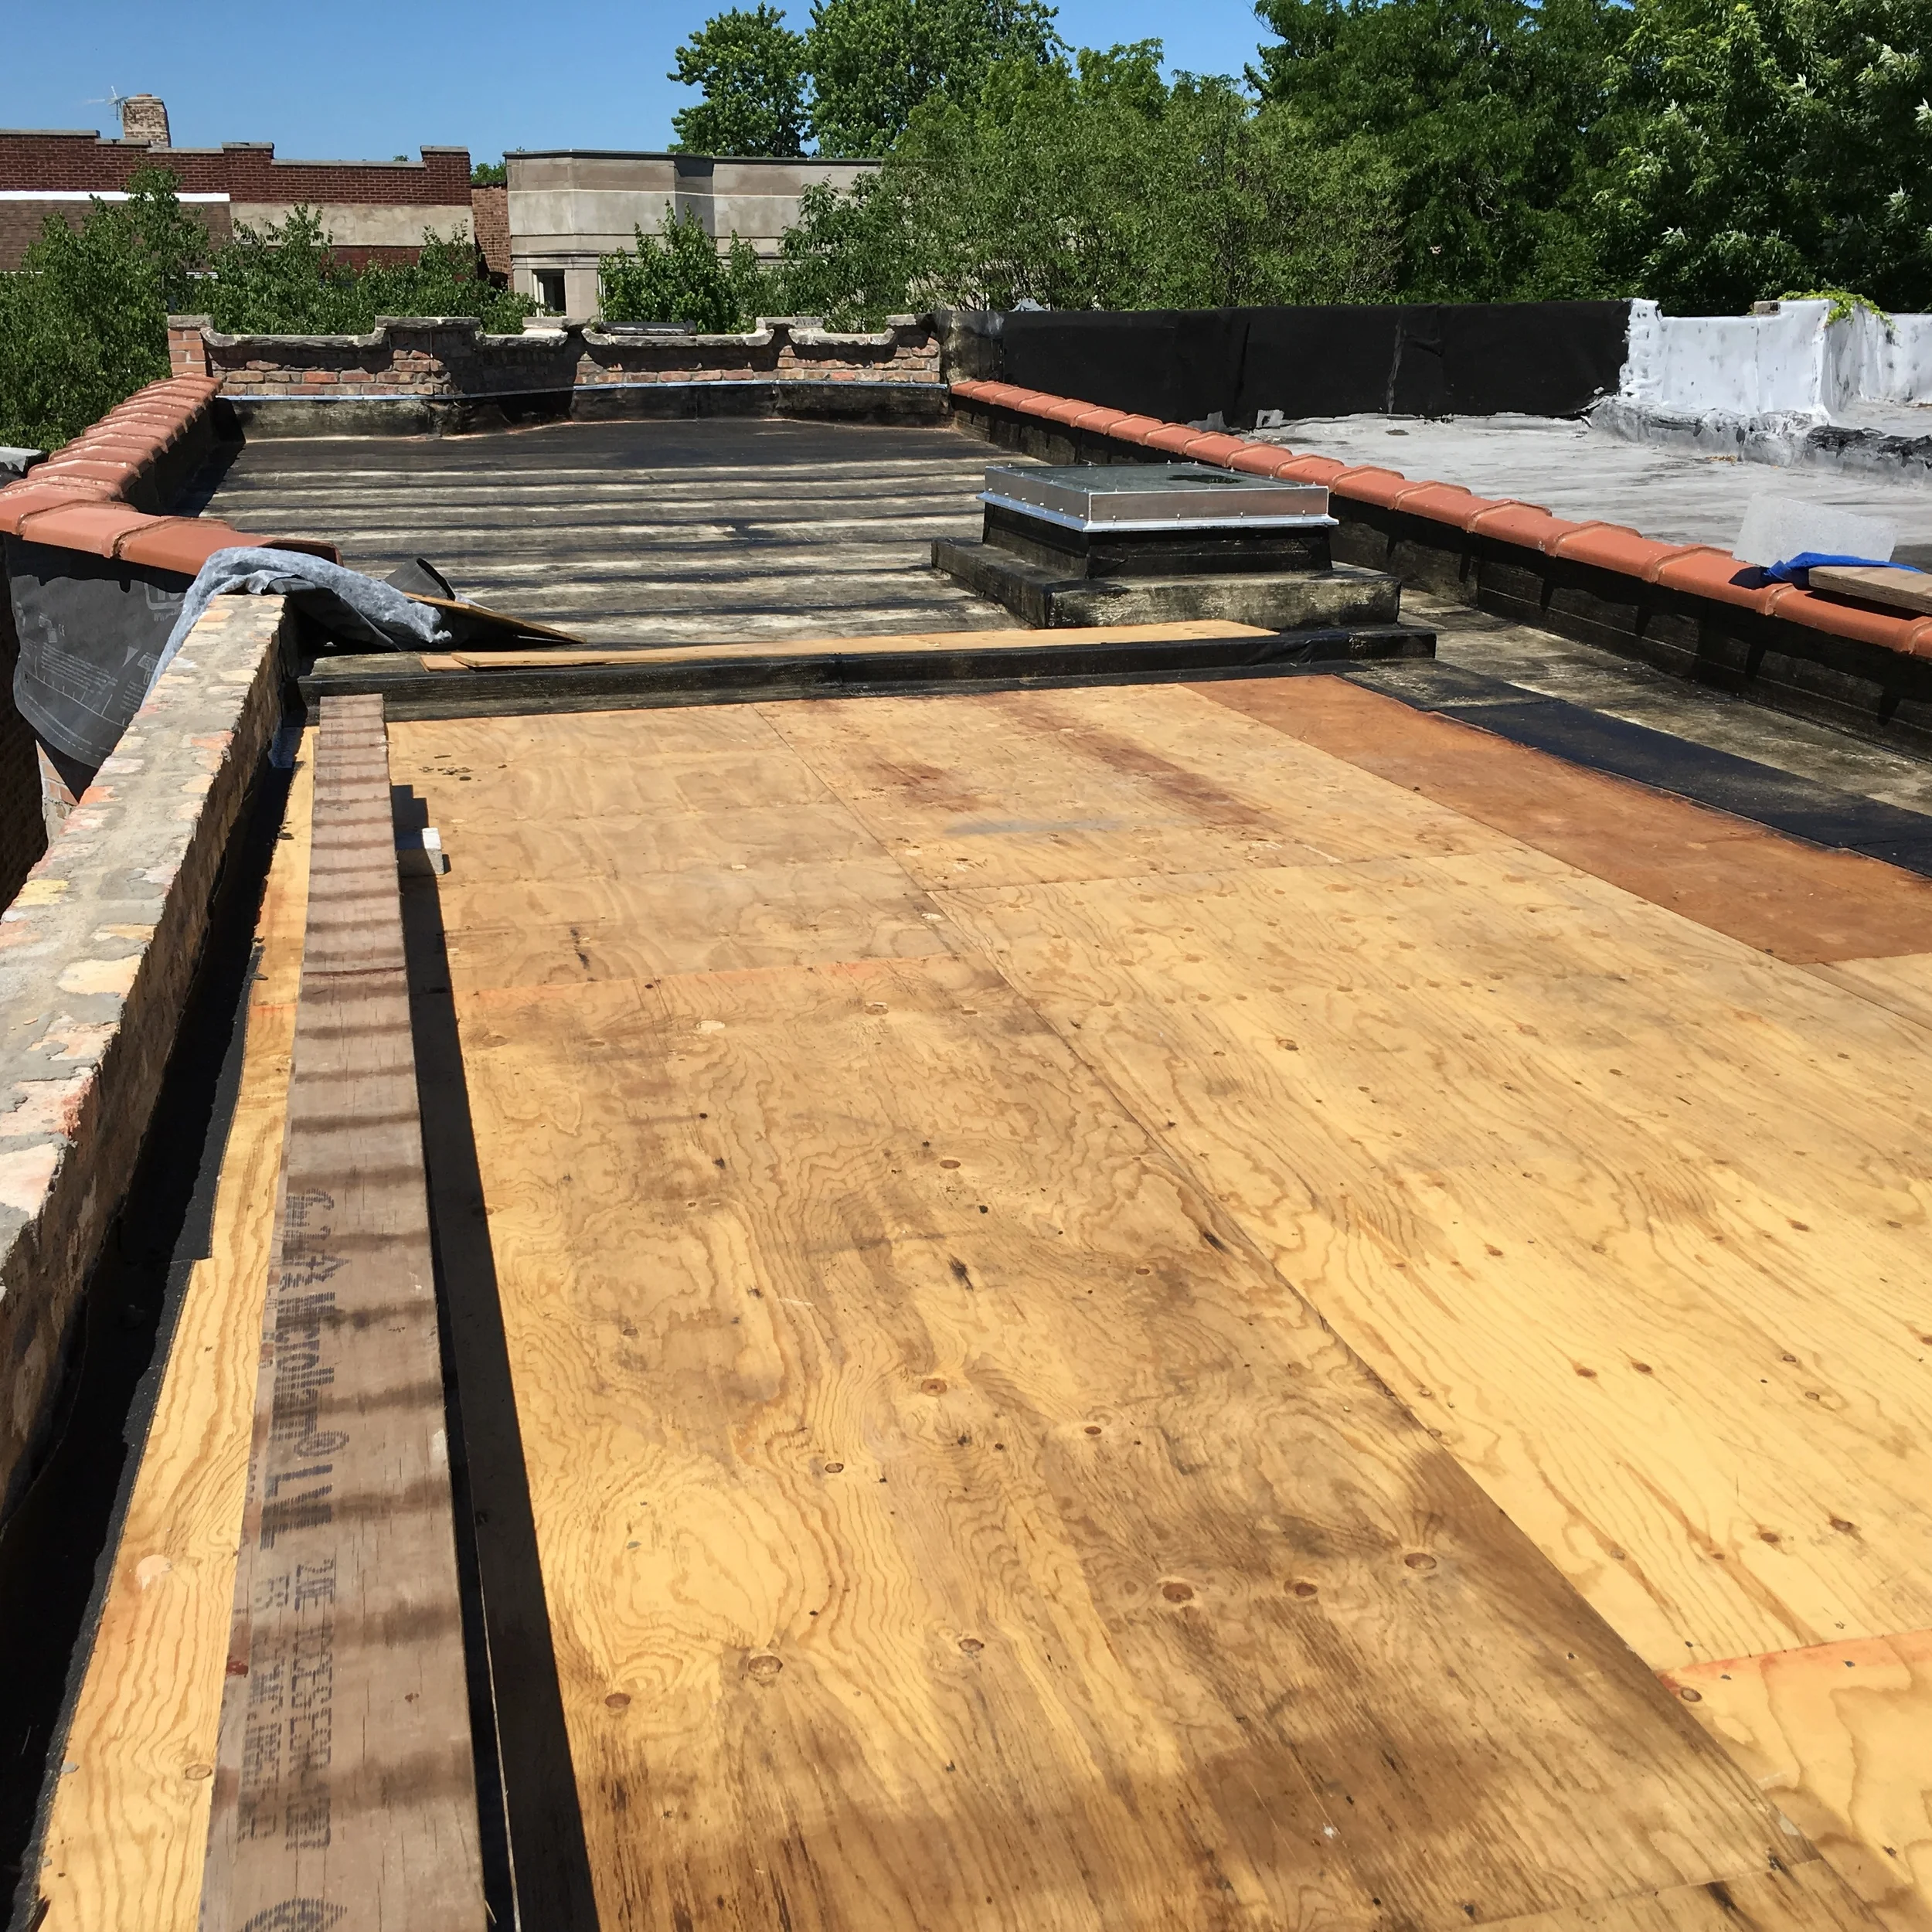
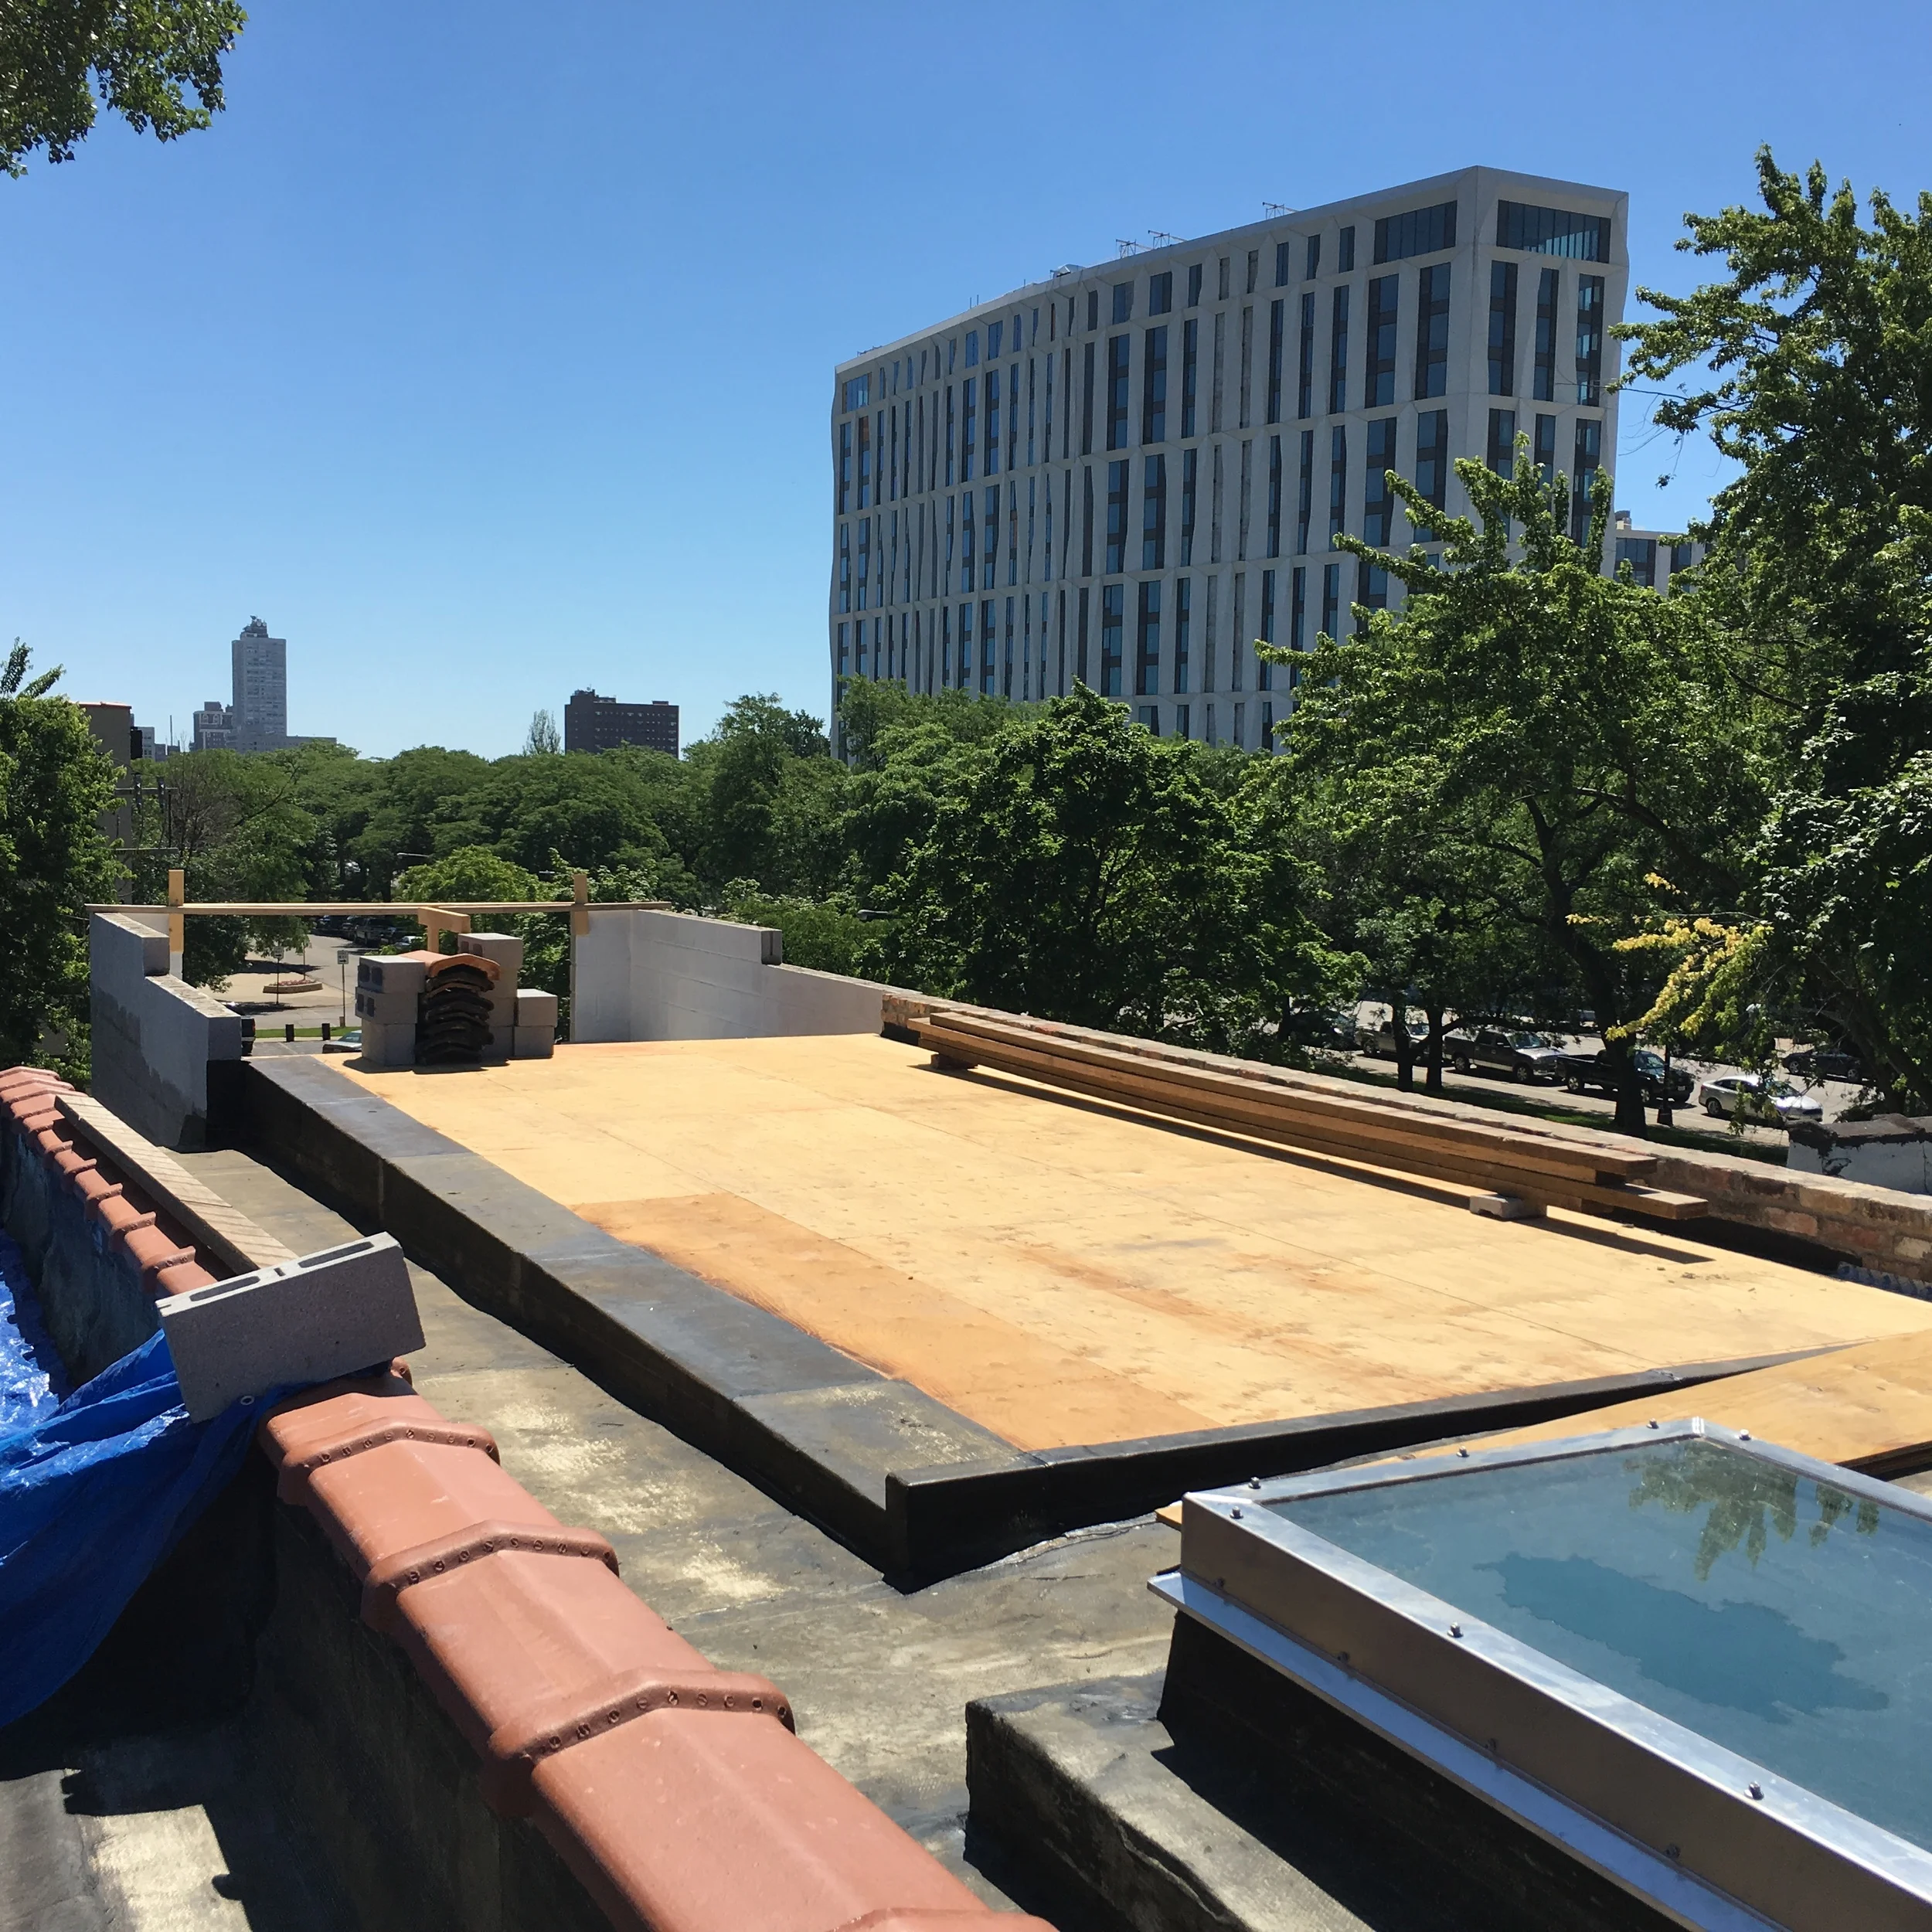
Roof
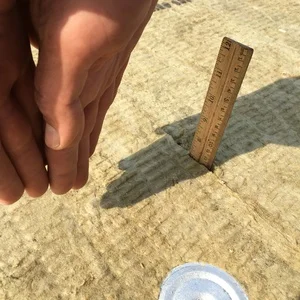
We replaced the roof deck in its entirety with three layers of staggered and taped plywood. We placed an insulation sandwich consisting of three inches of Roxul, one inch of polyisocyanurate, another three inches of Roxul and then final roofing board and roofing material. We built and insulated a raised skylight window buck and crickets to accommodate the seven plus inches of insulation and roofing material to channel rain water around the skylight and rooftop vestibule. Before placing the rooftop vestibule floor we placed a layer of Pro Clima Mento and then six inches of Roxul on the new plywood roof deck.